热门软件
 小米坡
小米坡-
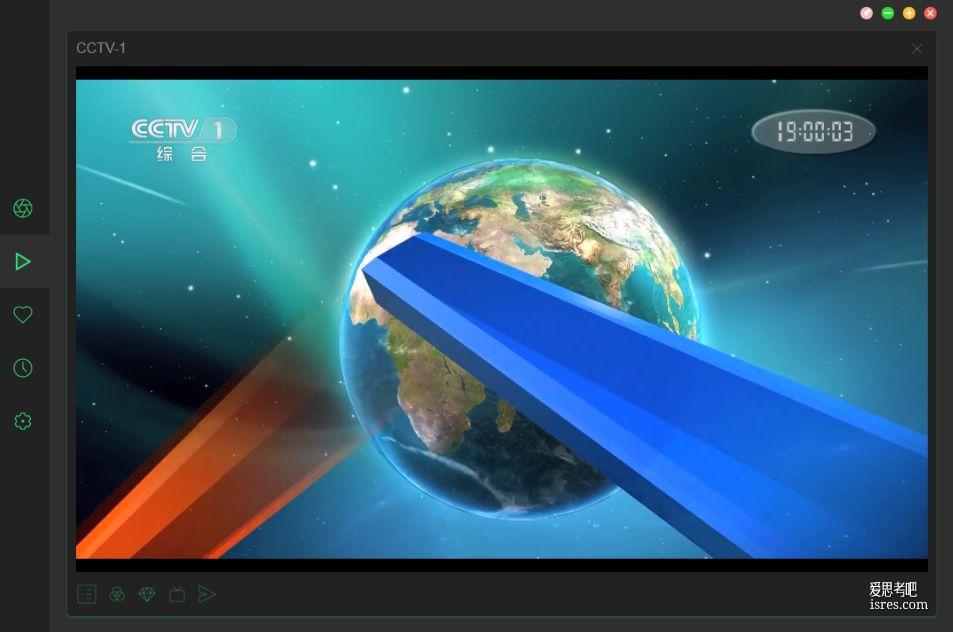
开源的ZY-Player用电脑看视频电影和电视直播(附视频源地址24年3月)
软件截图 软件介绍 ZY-Player是一款开源的资源播放器,支持windows mac linux 以及苹果 安卓等,通过配置视频源和电视源的url...
-
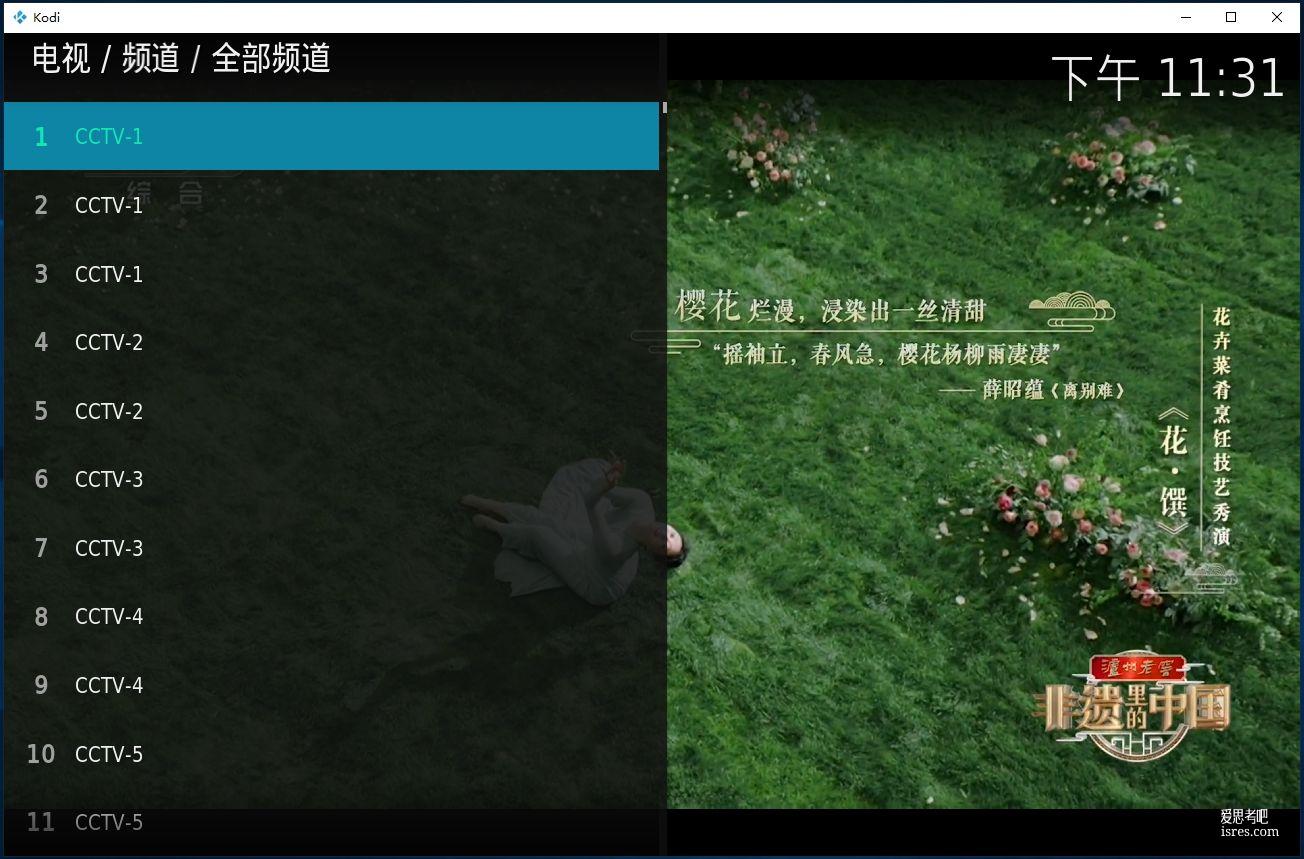
支持遥控器多平台的电视直播软件kodi-20.2(开源软件)
kodi是一款优秀播放器,支持配置m3u8 iptv电视直播源看电影,支持配置nas 等看本地视频,支持win、mac、安卓等多平台,支持遥控器操作。 本文将基于windows平台测试ko...
-
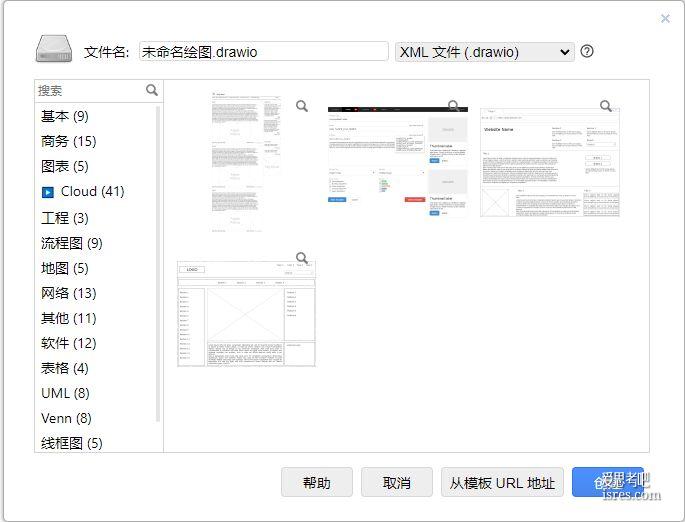
开源绘图软件draw.io-22.1.2免安装便携版,思维导图、工程图
draw.io是一款大神级的开源绘图软件,可绘制思维导图、流程图、网络结构图、UML图、软件需求分析图、地图、商务数据图表、排版布局图表等多种格式的图表, draw.io在github上有44k的s...
- 办公提效软件
- 文件文档软件
- 视频音频软件
- 图像处理软件
- 系统工具
-
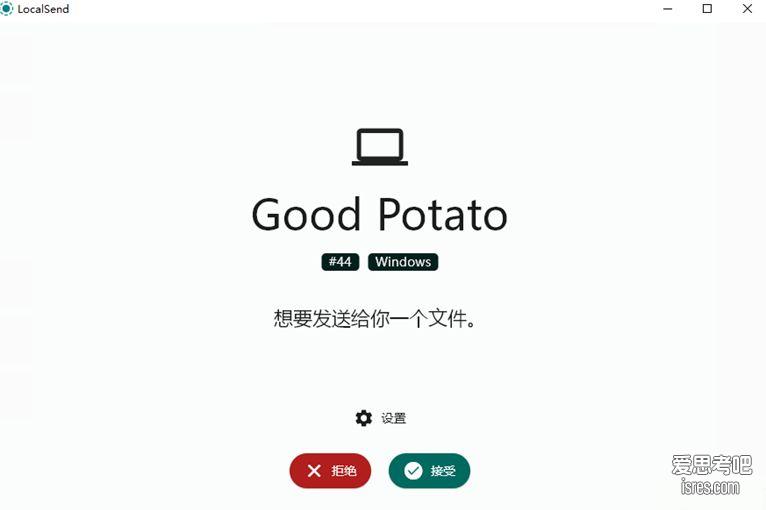
1G文件秒传,局域网传文件神器localsend更新后 Snapdrop更不香了
软件截图 软件介绍 localsend,功能如其名。一个局域网文件互传工具,可以在局域网内实现电脑对电脑、电脑对手机、手机对手机的文件传输,速度可以跑满内网带宽。如果你是...
-
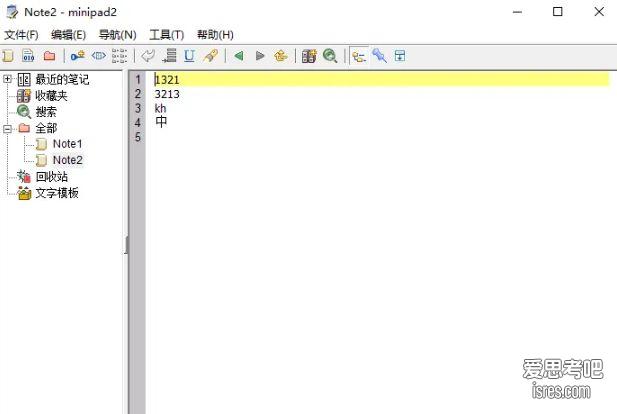
minipad2 体验不亚于NotePad++的一款记事本软件、200多K大小便携版
软件有些好用功能至少同类软件依旧没有,有些功能有人开发了单独工具,放眼十多年前这个软件能考虑到的这些用户体验是很了不起。 ...
-
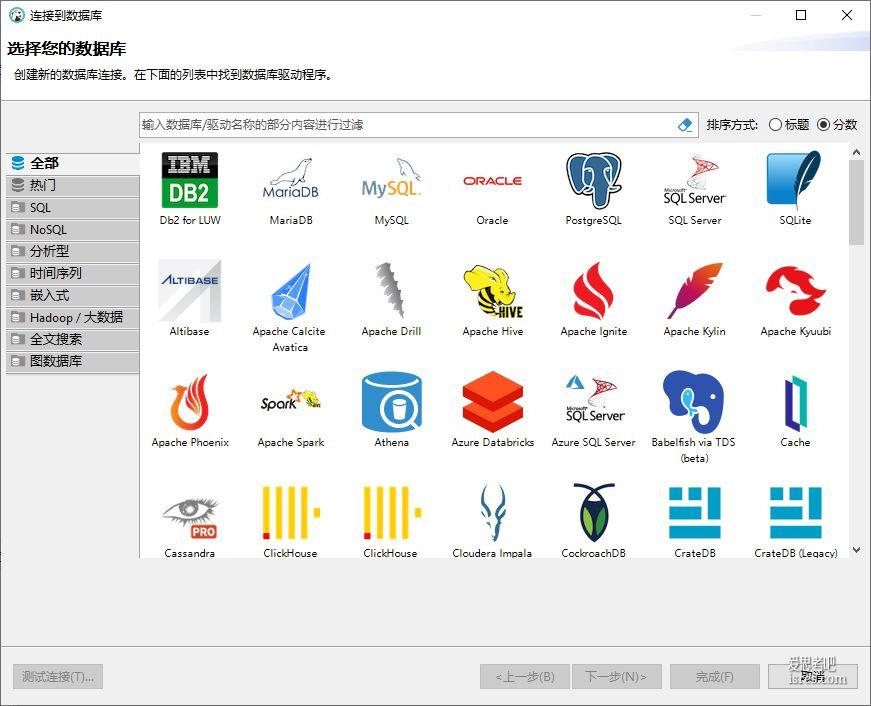
平替navicat,开源dbeaver真香,可管理mysql、sqlite等几十种数据库
软件截图 支持多种不同数据库的连接管理 支持sql语句查询结果复制为多种格式 支持sql语句查询结果导出为多种格式 软件介绍 dbeaver是一款数据库桌面客户端, 支持任何具有 JDBC 驱动程序...
-
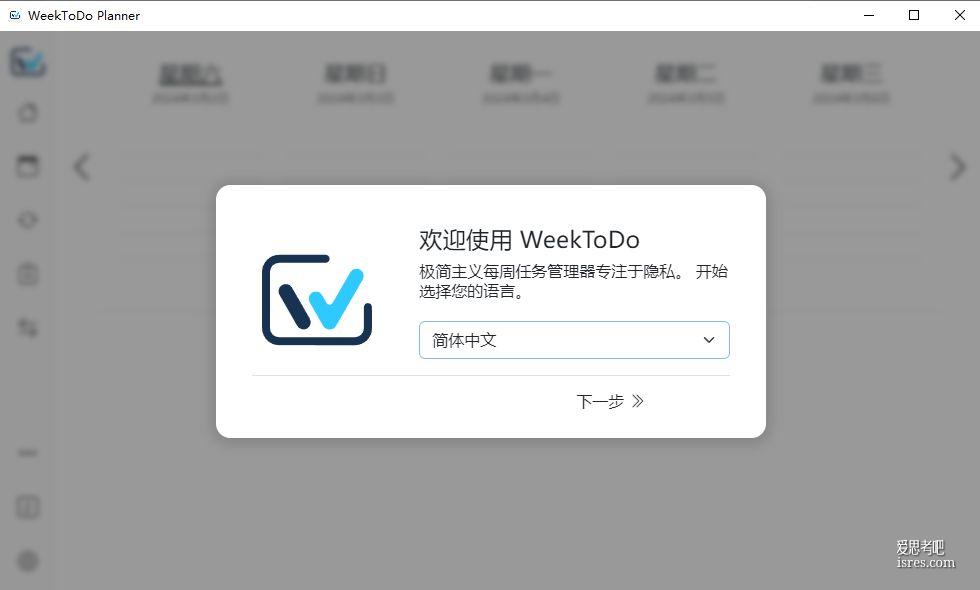
周计划管理软件WeekToDo,开源 极简
WeekToDo是一款开源极简的周任务管理软件,主要用于一周事项管理的ToDoList,带日历闹钟提醒等功能,在github上目前已获1.2k star。每个人其实都在进行着不同程度不同方式的时间管...
-
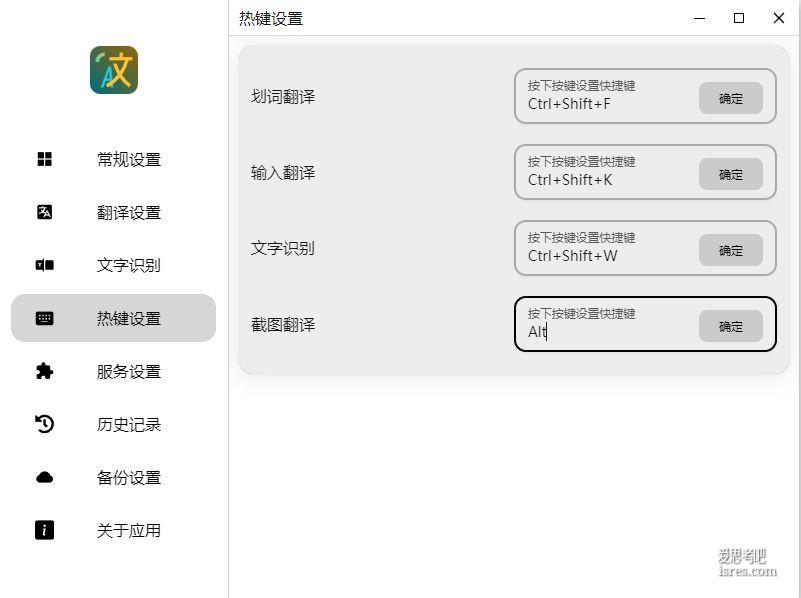
7.3k star的划词翻译和OCR软件pot_2.7.4,多平台支持
pot_2.7.4是一款开源的划词翻译软件,主打网页划词翻译,截图翻译,同时集成对图片文字识别,以及语音合成。 软件的主要特点就是使用方便,功能设置合理,能快速解决翻译问题。尤其是截图翻译这个功能直...
-
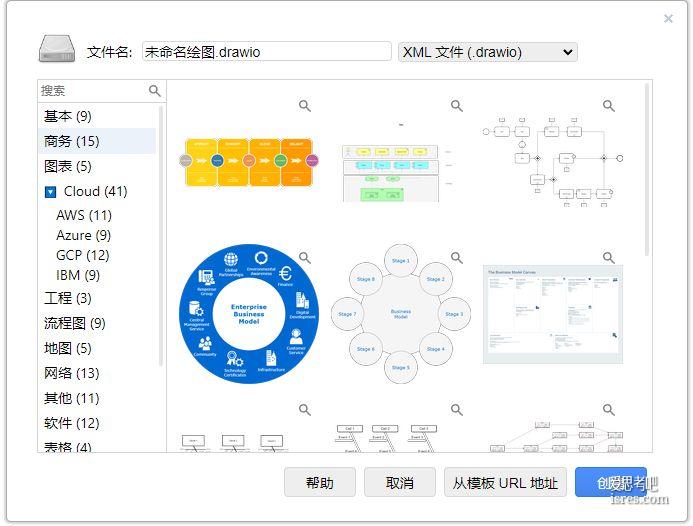
开源思维导图软件draw.io-22.1.18,github已获star 44.9k
draw.io是免费开源圈里知名度很高的思维导图软件,其使用体验媲美甚至超过某些商业软件。 draw.io目前已更新到22.1.18,软件从2017年第一版发行到现在已有7年历史,7年间该软件已经进...
-
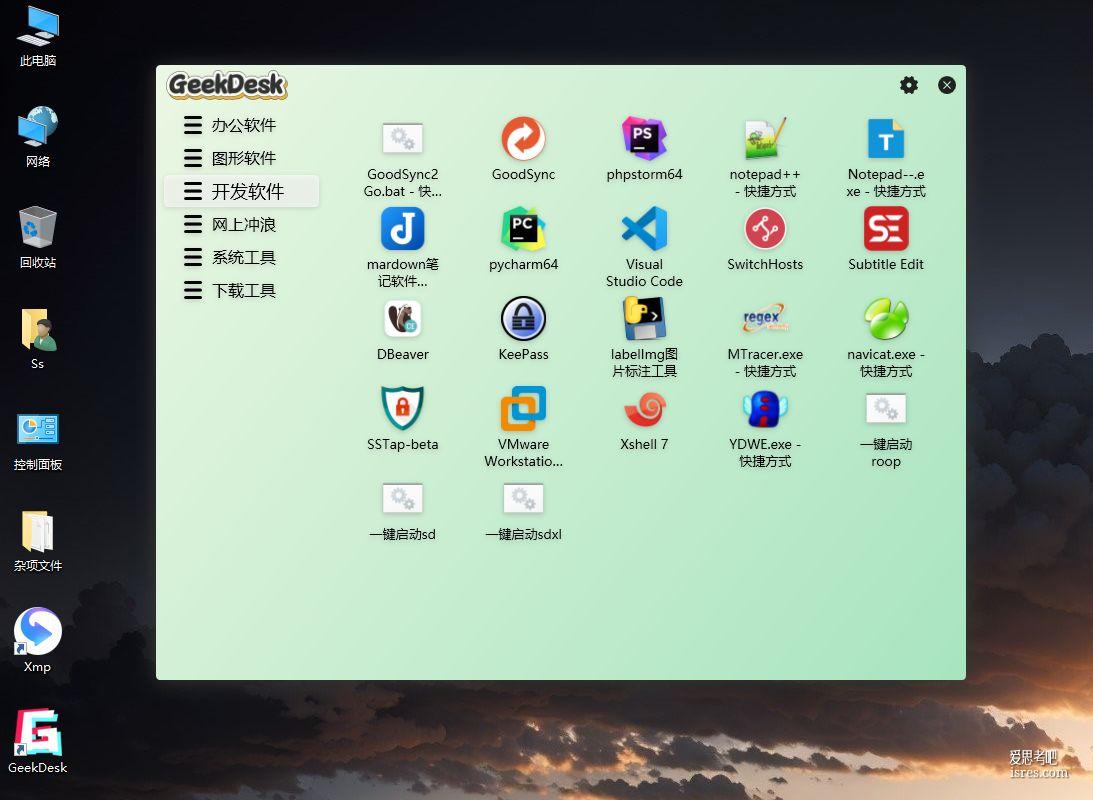
GeekDesk 2.5.14,分类整理电脑桌面图标的开源软件,强迫症必备,极客办公桌
GeekDesk(极客桌面)是一款对桌面图标做分类整理、美化桌面外观、让用户打开软件不花时间找图标,图标整洁有序心情好。 电脑桌面图标越多,电脑桌面图标越乱, GeekDesk( 极客桌面 )的效果...
-
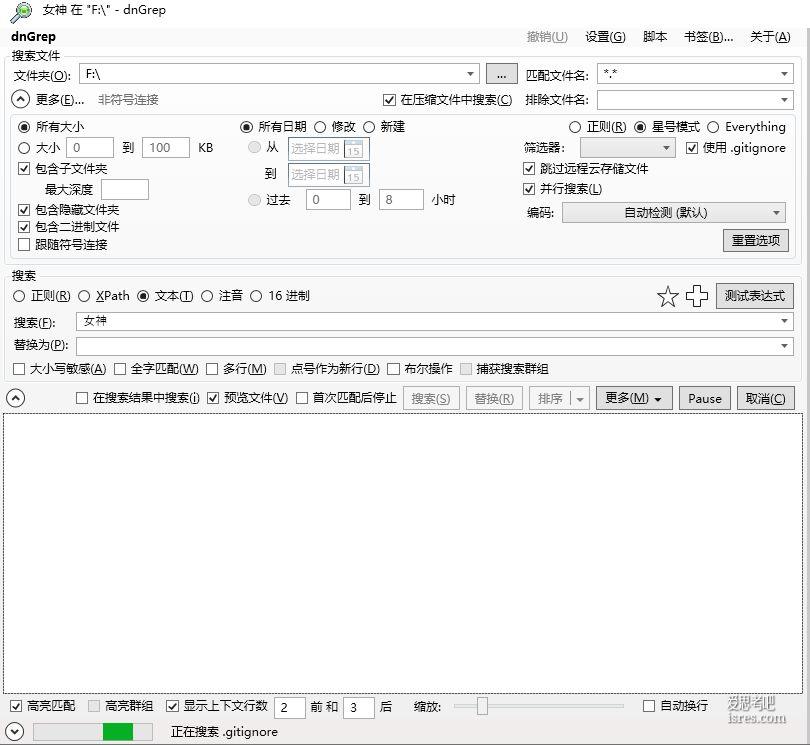
通过文件内容搜文件,开源windows文件搜索工具dnGrep.4.0.151.0
dnGrep是windows平台下通过文件名和文件内容去搜索文件的一个工具,特点是通过文件内容搜索文件,支持正则、注意、XPath等匹配方式,支持限定文件类型或排除文件名,按文件日期筛选过滤待多种组...
-
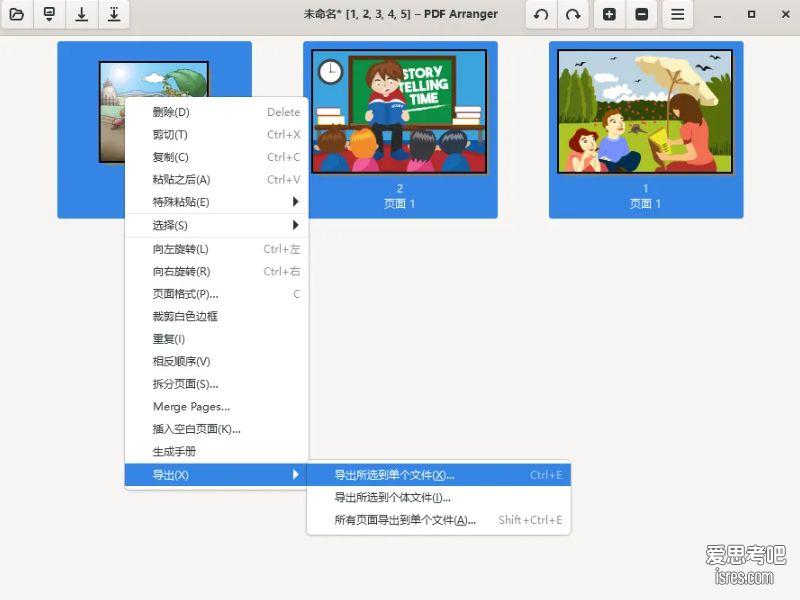
2.9k star 多图片合并成pdf文件,pdfarranger便携版 1.10.0
软件截图 软件介绍 PDF Arranger是一个小型 python-gtk 应用程序,它可以帮助用户使用交互式直观的图形界面合并或拆分 PDF 文档并旋转、裁剪和重新排...
-
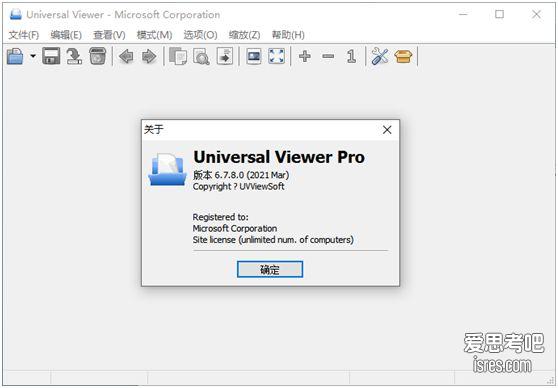
万能文件查看器 Universal Viewer Pro,能打开视频音频又能打开word、excel和psd
软件介绍 软件大小10M多点的单文件便携版,已经是Pro了,由吾爱论坛大神分享。由于软件根据名字就能够知道做什么的,软件介绍的篇幅就没必要写太多。 软件可以说是一个万能文件打开器,支持40多种图片格...
-

44.3k star, 开源优雅的markdown离线写作软件marktext
这款 开源优雅的 Markdown写作软件可能会让你有瞬间切换过来的冲动,小编感觉 顺手 是这款软件最大的特点,小编之前使用的写作软件也很强大,但因总...
-

万能文件查看器、多种格式文件快速预览、QuickLook最终版
软件解图 软件介绍 软件极简、连个打开界面都没有,用户双击运行后软件马上出现到右下角,不会在窗口上出现界面。 &n...
-
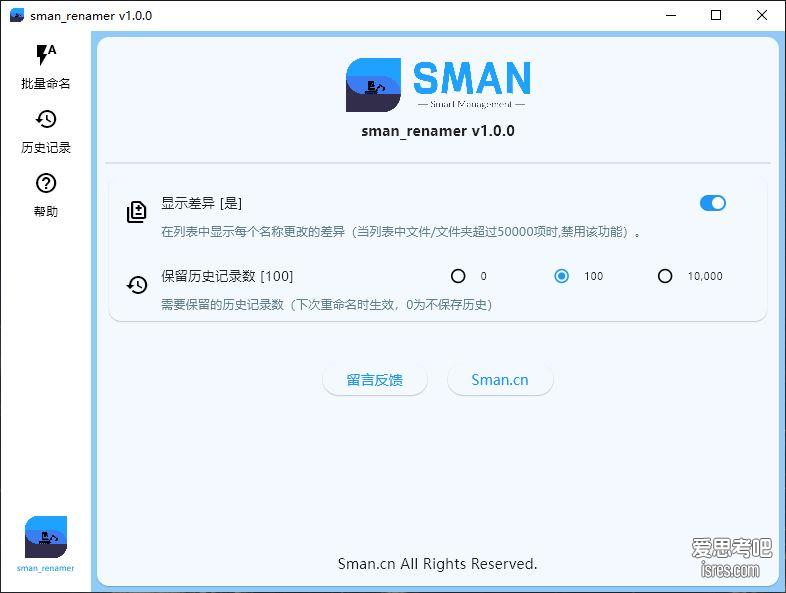
SmanRenamer,一款通过理解用户意图实现批量重命名软件
软件介绍 按照软件作者的初衷、使用这款软件做文件批量重命名,将告别复杂的规则设置,也告别复杂的正则表达式书写。给软件一个模子、它帮你把所有文件改名成你...
-
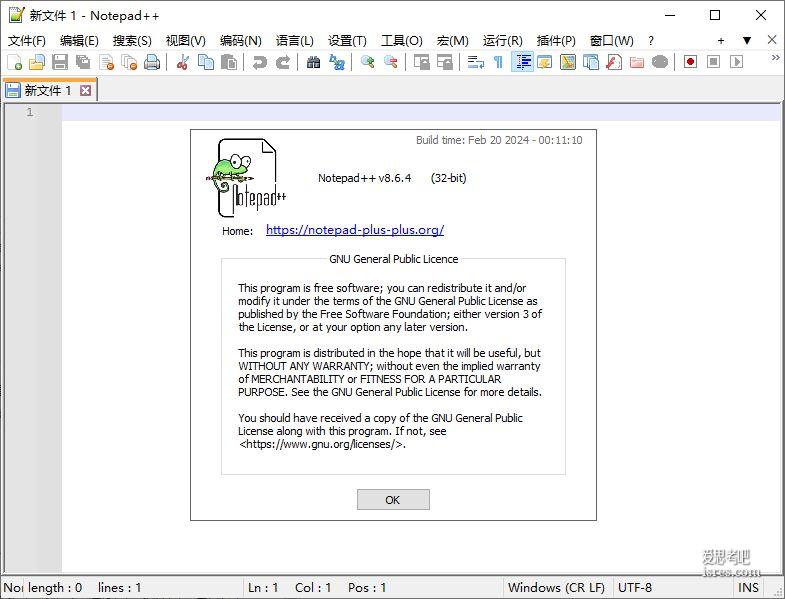
NotePad++最新版8.6.4,平替仍需努力
软件截图 软件介绍 新版NotePad++ 8.64 便携版压缩包3.49M、安装版exe 4.62M,在github上软件已获 21.3k的star。 如果用户不在线安装插件, NotePad++...
-
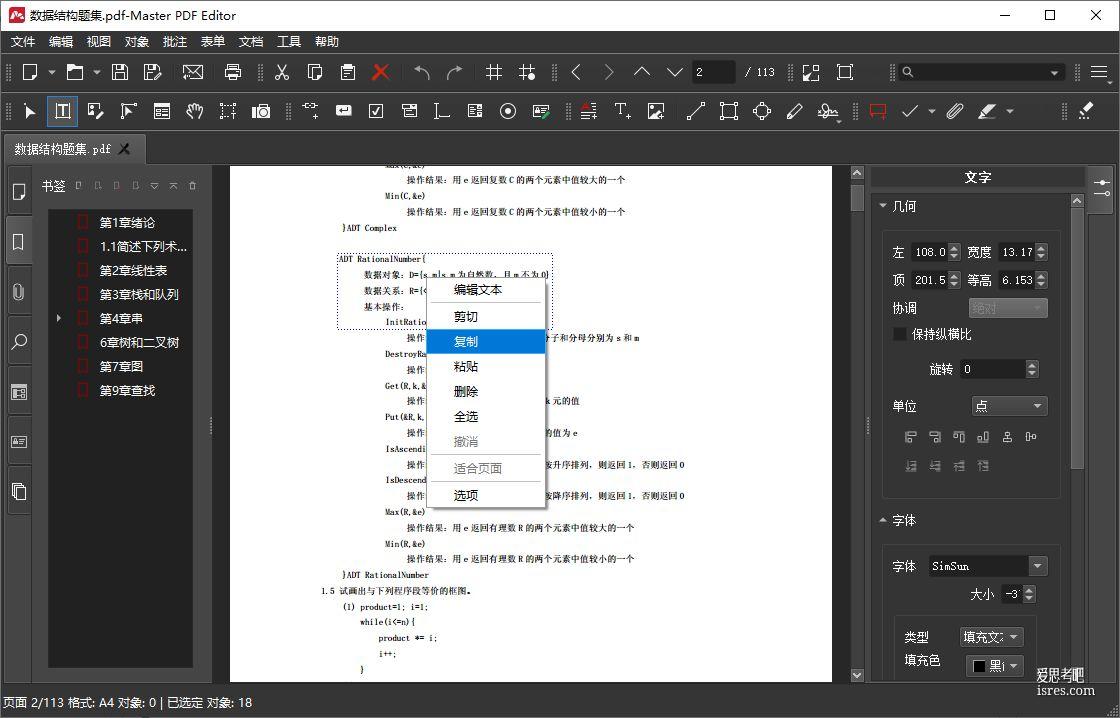
PDF制作编辑软件绿色便携版,轻量但功能强大
软件界面 软件介绍 本次测试PDF软件名为Master PDF Editor,是一款简单易用的PDF处理软件,具有PDF创建与编辑的所有扩展功能,软件主要以创...
-
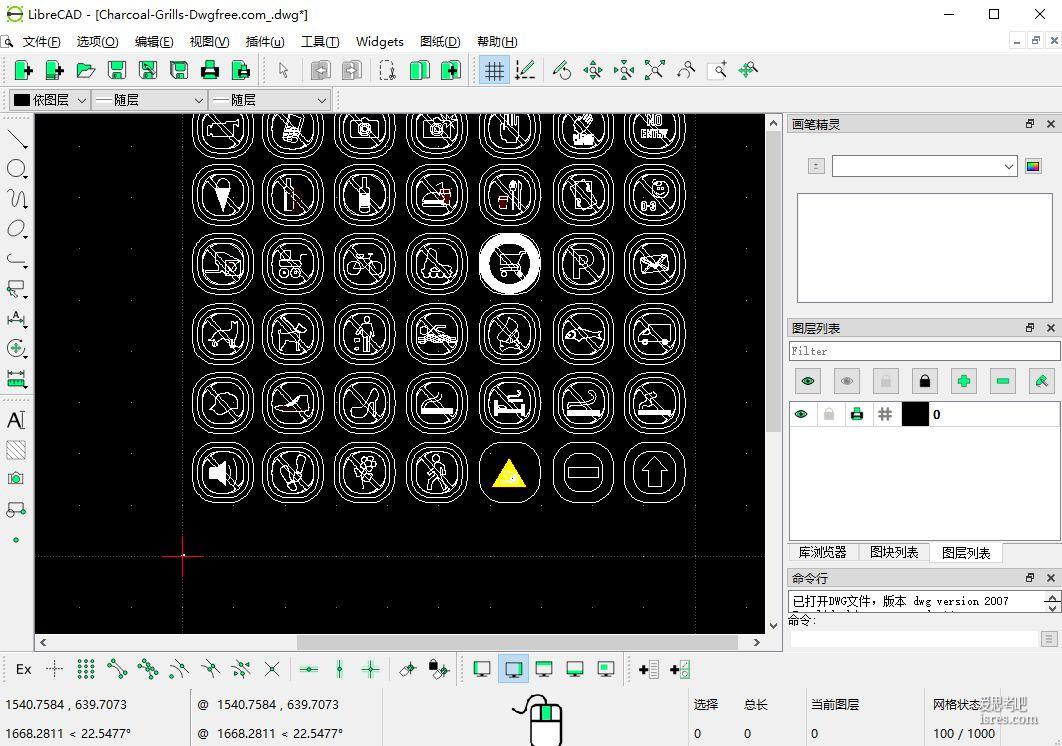
开源免费cad看图软件LibreCAD,轻量简洁,十多年历史
日常办公偶尔会有cad看图的需求,总不能为了看一下cad图纸就去购买昂贵的cad制图软件。也没有必要使用付费的cad看图软件。开源社区有不少优秀的cad看图软件,同样支持多种图纸格式,也支持转换导出...
-
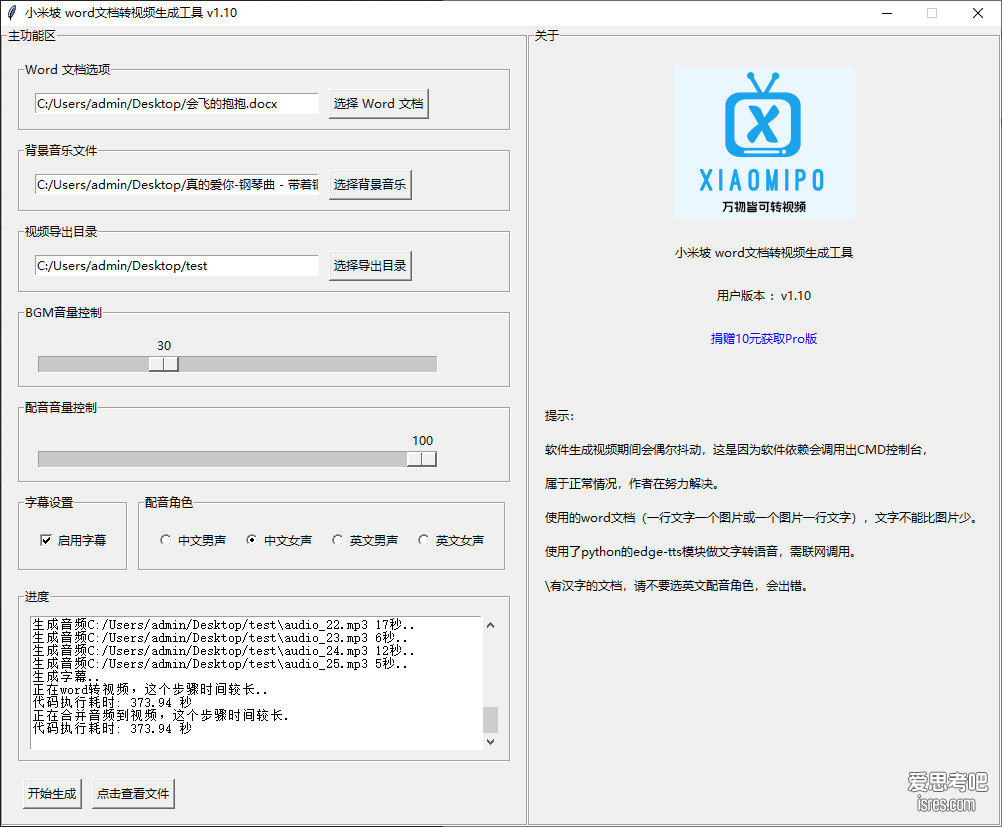
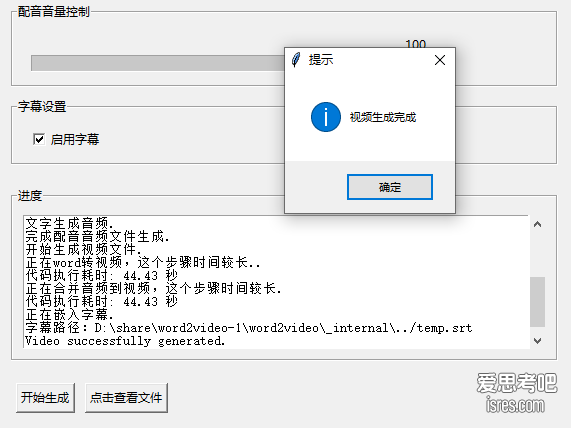
小米坡 word2video word文档转视频生成工具
软件截图 软件介绍 版本号:v 1.10 版本更新时间:2024/4/16 视频演示链接 https://www.bilibili.com/video/BV1yF4m1A75x/ 小米坡...
-

专业视频软件GiliSoft Video Editor 中文注册版
软件截图 软件由吾爱大神优化分享,安装完成不要立即打开,要先替换某个文件,才输入注册信息才能获取注册版。具体会在软件获取中说明。 软件介绍 ...
-
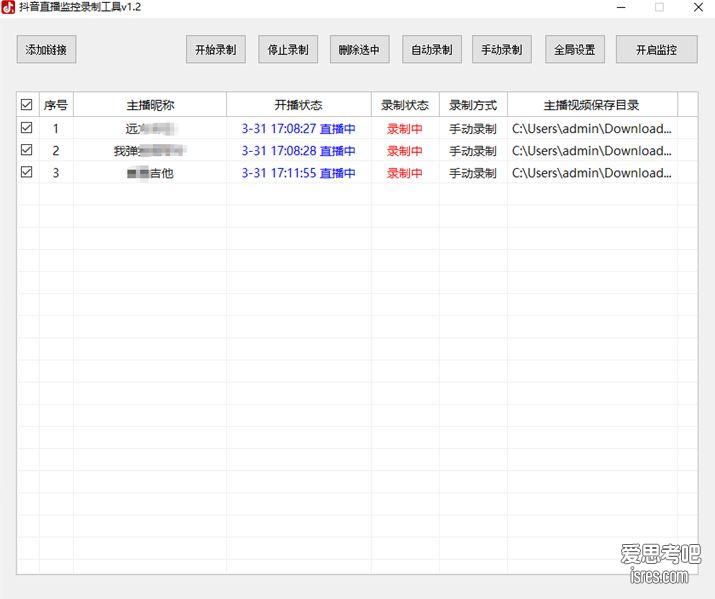
抖音直播批量录保存本地绿色版、支持自动录制
实测保存的视频质量很高,软件会保存一份TS文件和一份MP4文件。保存15分钟的直播视频ts文件可达400多M,MP4文件也达到100多M。 软件截图 软件介绍 ...
-
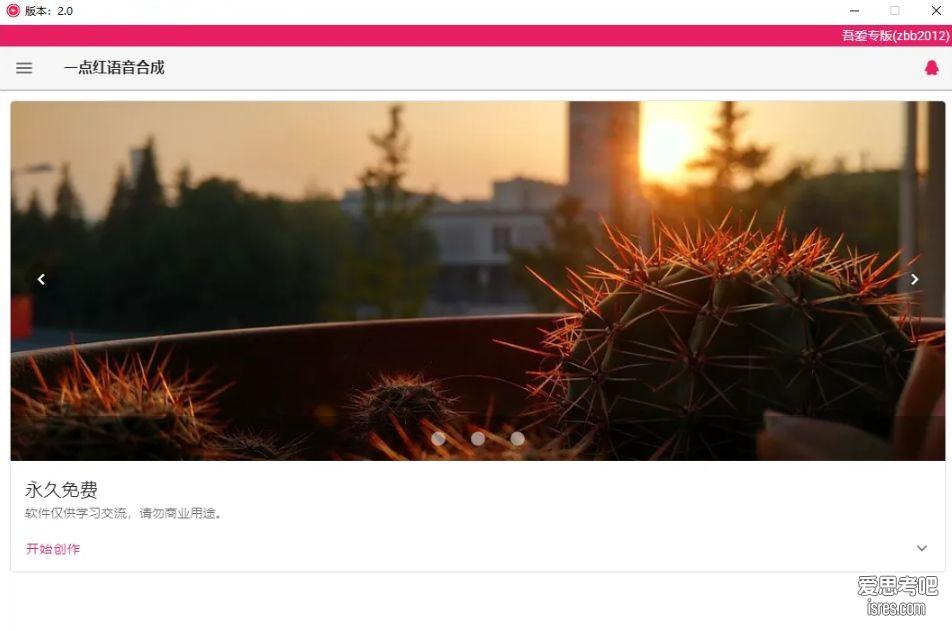
文字转语音合成工具2.0,最多有30多个主播声音可选
比如本次介绍的这个文字转语音就除了支持原来免费的十多个主播声音之外,通过配置微软api key可调用数量的主播数量可达30多个。 软件截图 软件介绍 &nb...
-
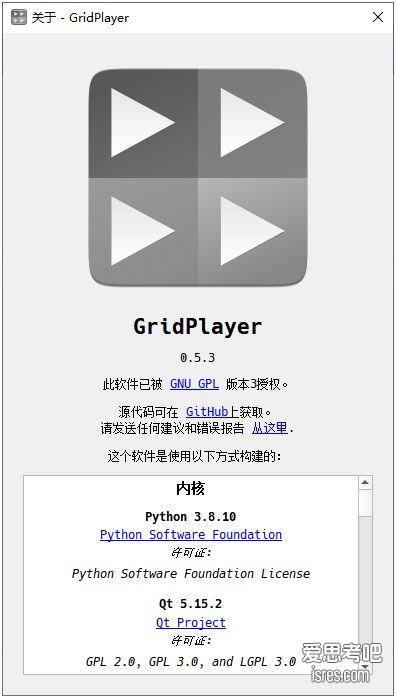
GridPlayer 0.5.3开源播放器,可分割屏幕多画面同时播放多个视频
软件截图 软件介绍 gridplayer是一款基于 VLC 的开源媒体播放器,可以同时播放多个视频。用户可以播放任意数量的视频,唯一的限制是您的硬件。...
-
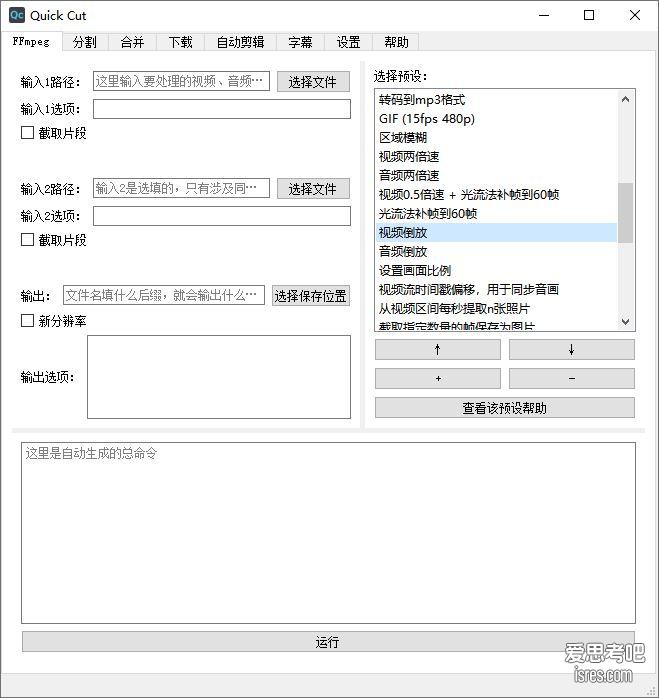
开源视频混剪、分割、自动剪辑软件 QuickCut v1.8.0
软件介绍 Quick Cut 是一款轻量、强大、好用的视频处理软件。它是一个轻量的工具,而不是像 Davinci Resolve、Adobe Prem...
-

视频批量分割切片转格式工具 FFmpeg Batch AV Converter便携版
软件介绍 FFmpeg Batch AV Converter是一个ffmpeg的ui界面整合,以帮助用户高效地通过ffmpeg完成对视频的批量化操作。...
-
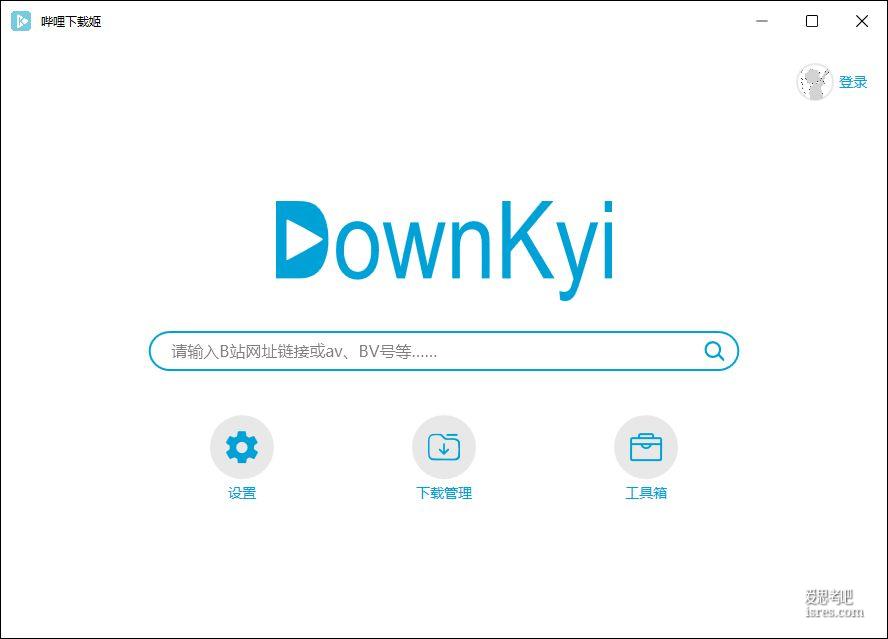
B站视频下载工具DownKyi 1.6.1 ,已获18.3k star
软件截图 软件介绍 哔哩下载姬(DownKyi)是一个简单易用的哔哩哔哩视频下载工具,具有简洁的界面,流畅的操作逻辑。哔哩下载姬可以下载几乎所有的B站视频,并输出mp4格式的文件;采用Aria下载器...
-
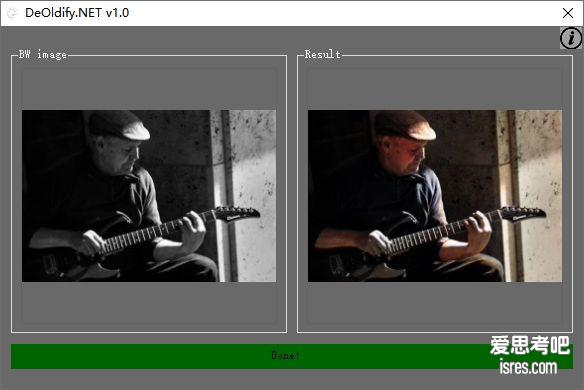
DeOldify.NET黑白照片上色为彩色照片、开源、本地离线使用
前言 本地电脑运行的黑白照片修复为彩色、理论上只要你的电脑配置足够,你可以对足够大尺寸的黑白照片上色为白色,你也可以一天上色几百张照片,完全没有任何的...
-
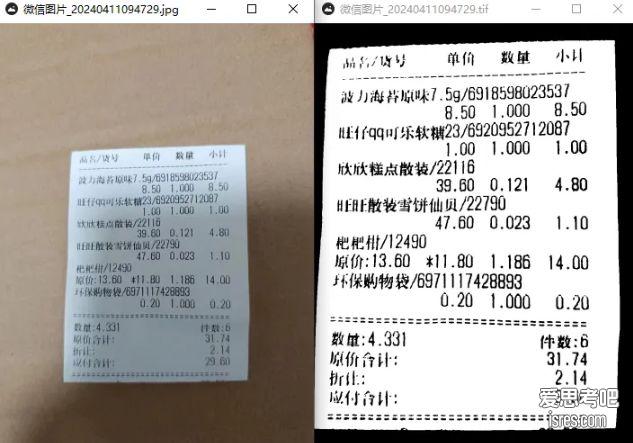
ScanTailor 照片转换成扫描仪效果、开源软件汉化版
没有扫描仪怎么提供扫描件,抛开要联网要登录的手机APP,能在电脑上离线使用的软件不多,因此这一款软件也是小编冲浪好久之后才找到的。 &...
-

去水印软件Inpaint绿色便携版,可删路人、从照片中抹去任意物体
有些工具你可以不需要,但好的工具值得收藏,况且这种图片工具总会有用得到的时候。 软件完全离线使用,可断网使用。 软件截图 ...
-

照片转像素化图片软件Pixelmash绿色汉化版
软件截图 软件介绍 Pixelmash 像素画生成器是用于制作像素艺术和像素动画的软件。您可以绘制甚至导入高分辨率图像,然后以无损方式生成像素版本。之...
-
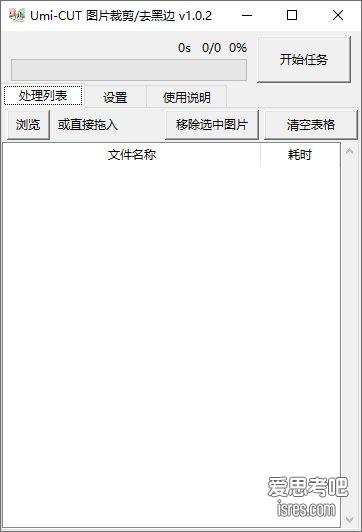
实用图片批量裁剪软件Umi-CUT、支持去黑边、开源
软件截图 软件介绍 Umi-CUT是一个批量图片去黑边/裁剪/压缩软件,能够批量处理图片文件,具有范围裁剪、自动去除黑/白边、调整大小、压缩体积等功能。 软件也可以先设置手动范围,绕过小白条,再自动...
-
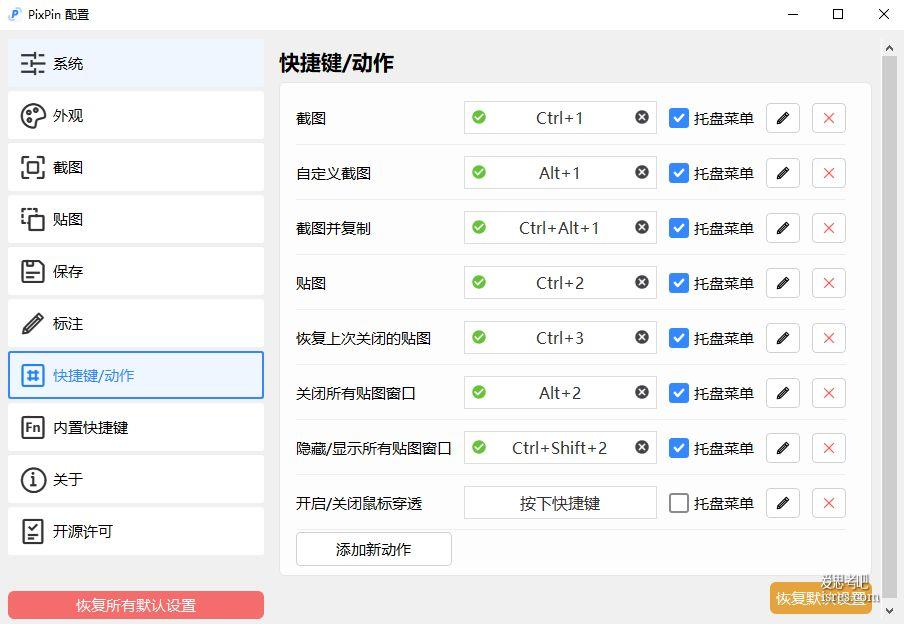
精准长截图工具 pixpin 17.7.6.0 ,内置OCR识别
pixpin是一款功能强大的截图工具,不同于常规截图工具, pixpin可以精准识别窗口、可以长截图、可以录制GIF、可以将截图贴在屏幕上用于对比。 ...
-
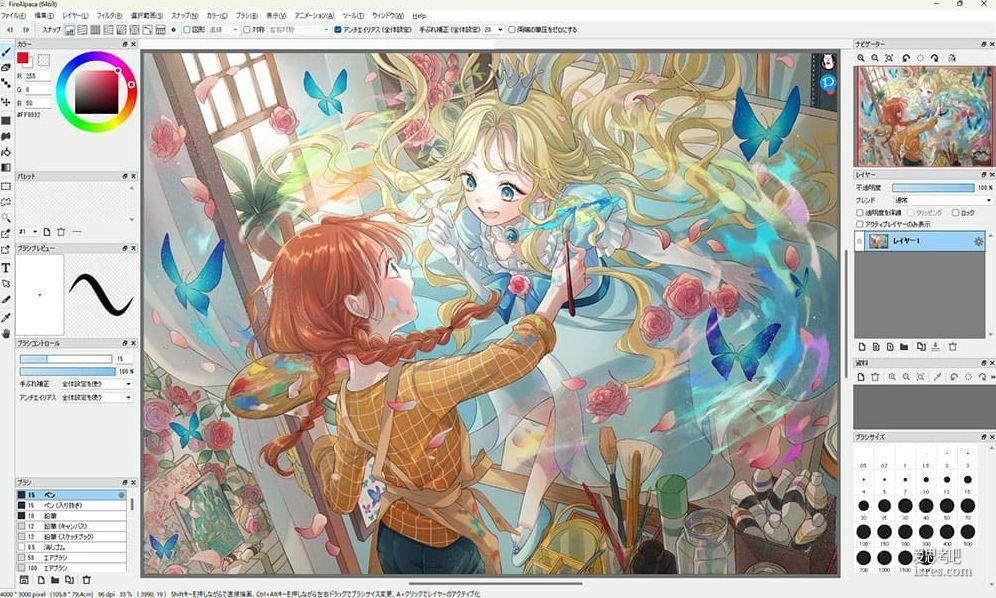
免费日漫手绘画图软件firealpaca 2.11.17
firealpaca是一款有着10多年历史的免费绘画软件,支持十多种不同语言并可在windows和mac平台运行的手绘软件之一。 firealpaca上手容易,功能可能没有PS强大但好处就是简单,适...
-
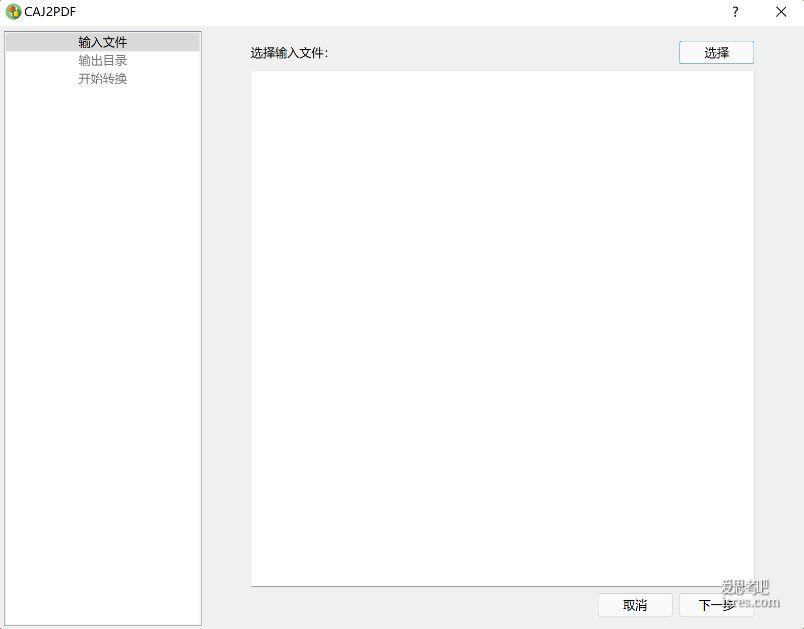
开源caj格式转为pdf格式工具caj2pdf-qt v0.1.5
caj2pdf-qt是一款跨平台的CAJ转PDF转换器,基于caj2pdf和mupdf引擎。支持Windows、macOS、Linux,适配32和64位CPU。具备批量、多线程转换功能,可通过文件拖...
-
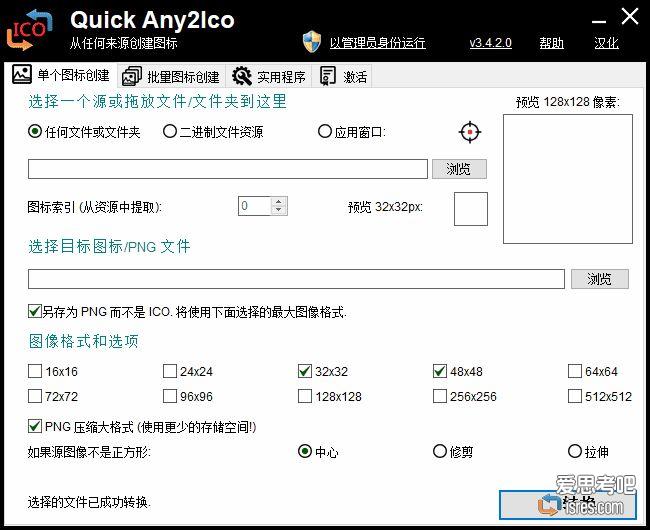
Quick Any2Ico汉化版,EXE软件图标提取小工具,支持转png格式
软件截图 有些软件的快捷方式能看到图标,但却在它的安装目录中找不到ico文件,这种情况下就需要用到ico图标提取小工具。这样的需求可能很少,但这一刻咱...
-
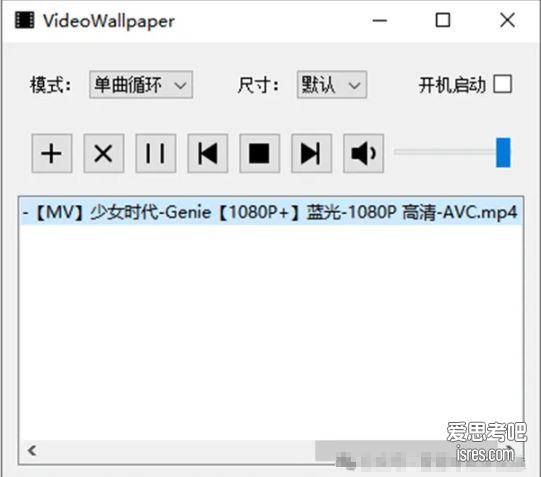
开源软件VideoWallpaper ,可把视频设置为电脑桌面动态壁纸
软件截图 添加视频、在列表中双击视频文件名,即可快速把当前视频设置成桌面动态壁纸。 如果要一直使用这款软件,建议勾选开机启动、后台运行。 软件介绍 VideoWallpaper是一款基于libvlc...
-
AllDup Portable便携版,电脑重复文件查找工具,不要求同名也能找重复
软件截图 软件介绍 ALLDUP 是一款专门用于查找硬盘分区重复文件的工具,方便用户通过删除重复文件清理磁盘释放空间。ALLDUP的使用授权是免费使用...
-
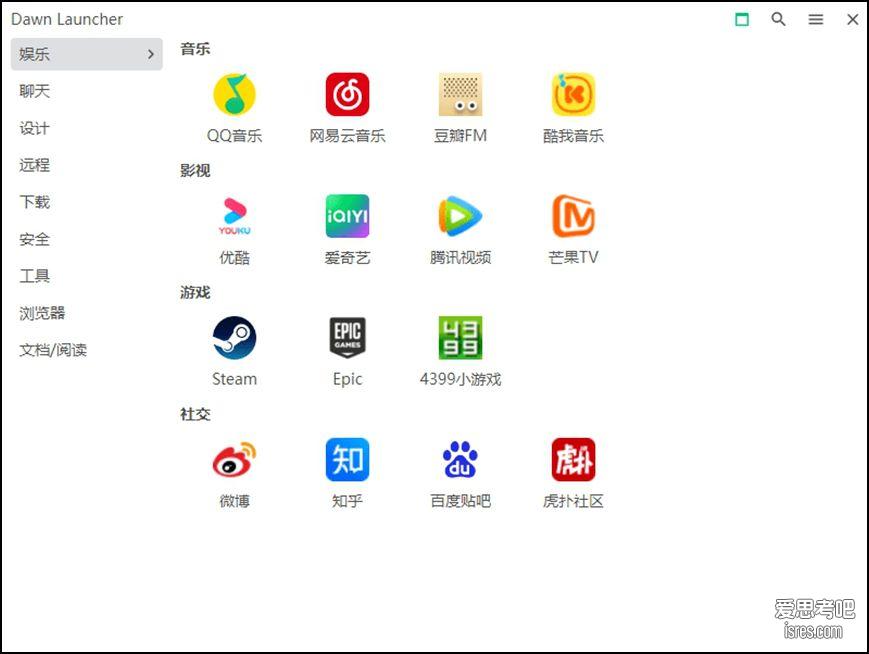
开源效率利器,DawnLauncher桌面图标整理、自建网址导航、文件快速触达
软件截图 虽然说桌面图标越多越杂就越表示这个大佬越牛,但是桌面图标太多会挡住好看的小姐姐壁纸,有时候专程找某个东西并可能效率会慢一点,用一个专业的桌面...
-
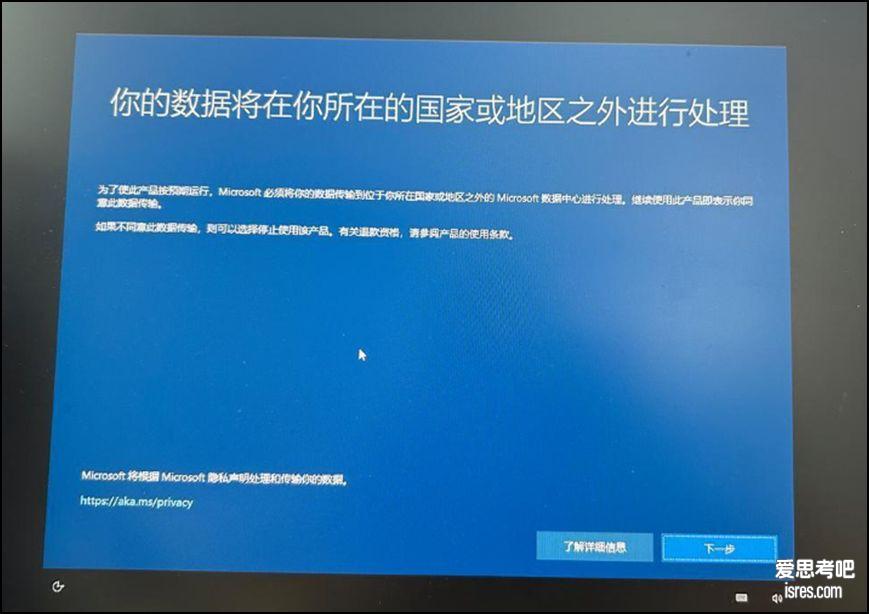
开源电脑隐私增强软件、痕迹清理 Optimizer
事实上用户不可能不使用 windows ,这种提示用户是没有选择。要知道很多企业的重要电脑设备是不允许接入互联网的,考虑的就是隐私与安全。 ...
-
开源sqlite可视化管理工具sqlitestudio便携版
软件截图 软件介绍 sqlitestudio是一个基于C++编写,使用QT框架实现的开源、免费sqlite可视化管理工具。 sqlitestudio可以创建或管理现有 sqlite 数据库,通过菜单...
-
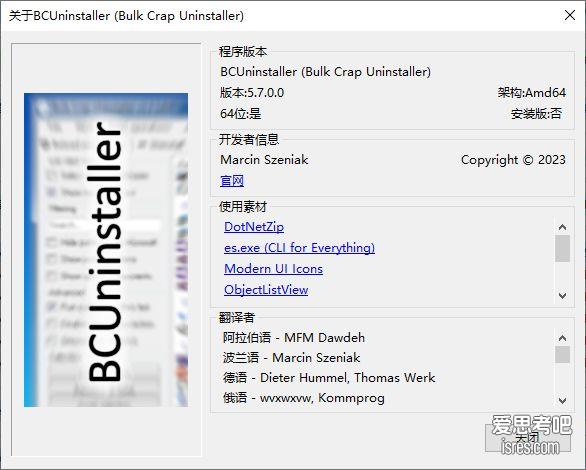
Bulk Crap Uninstaller v5.7,用彻底干净的方法删除软件,9.2k star
软件截图 软件介绍 一直知道windows控制面板卸载软件不彻底,觉得影响不大可忽略。但日积月累下来还是造成了不少困扰,狠心重装系统之后决定彻底卸载。...
-
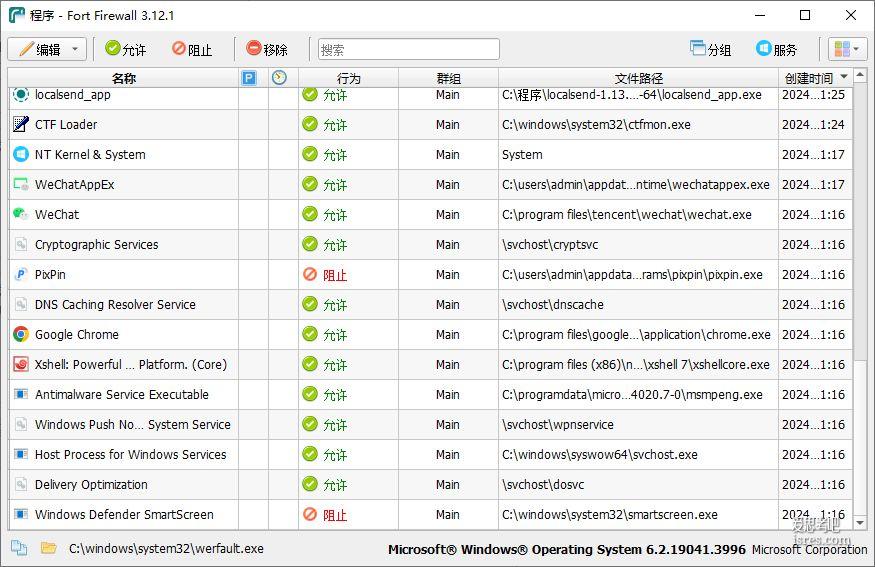
开源防火墙 FortFirewall ,所有联网用户做主,微软也不例外
软件截图 软件介绍 FortFirewall是基于 Windows 过滤平台 (WFP) 的内核工作模式的开源防火墙软件,可以与Windows自带防火墙并存,并且优先级高于Windows自带防火墙,...
最近更新
热门推荐
随机推荐
更多技术文章
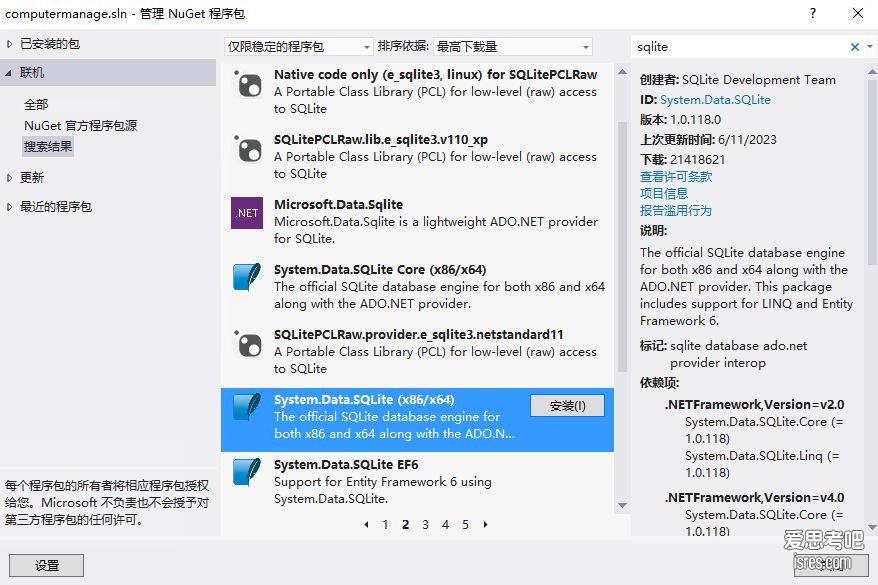
解决vs2012等老版软件安装sqlite数据库驱动出现版本不兼容的问题
首先解决联网问题,以上截图也是联网之后才得以搜索出结果。 启动NuGet控制台 菜单“工具” - “库程序包管理器”-“库程序员管理器控制台” ,之后在vs软件底部会出现控制台 键入“get-hel...
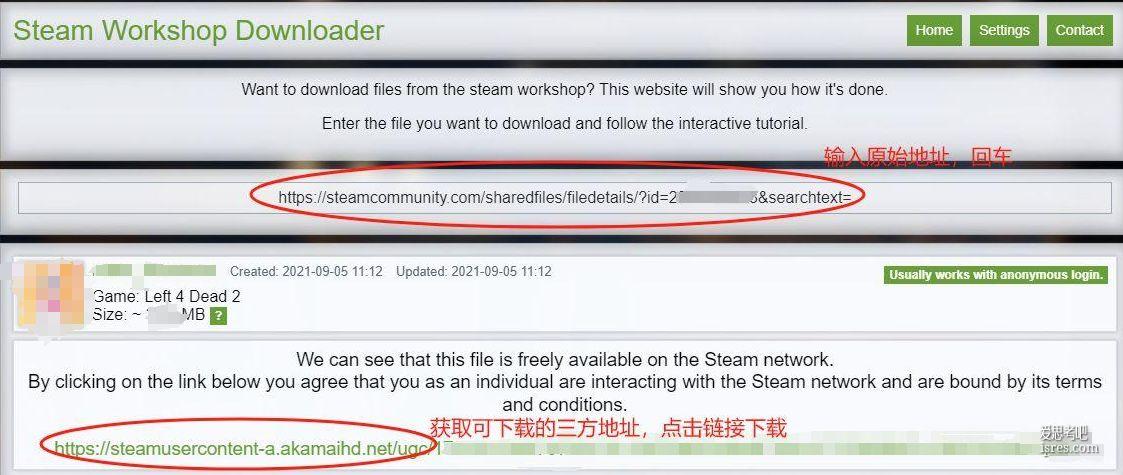
创意工坊mod下载方式
单机玩游戏,看上一个mod想下载试下。在创意工坊上又是注册又是订阅的,就是找不以下载按钮。 最后找到了这种类似下载器的东西,可以下载到想要的mod。 mark一下, 这个方式不错,适合玩单机的。 h...
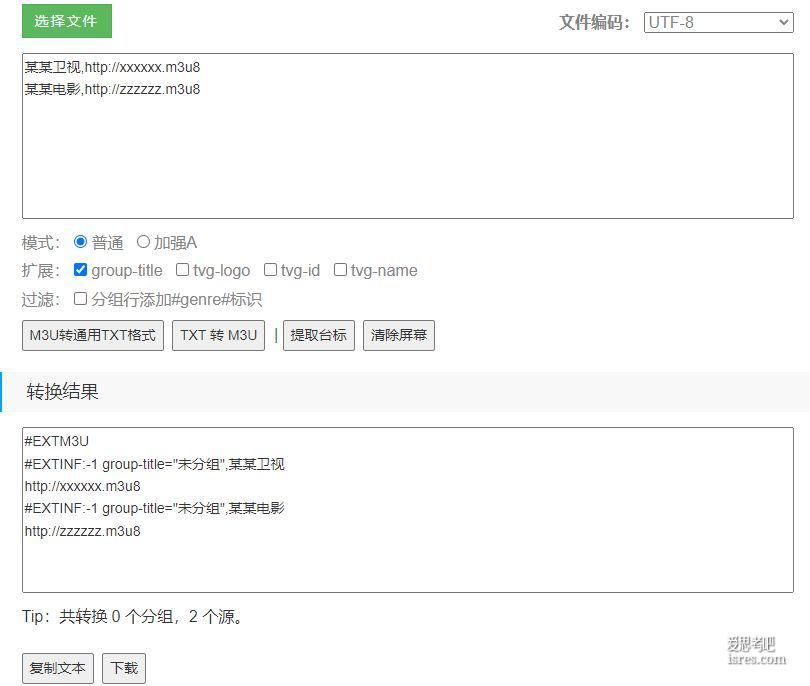
源格式转换 txt转m3u 在线工具及源码
一般txt转m3u指的是不同播放器的源格式转换,而txt和m3u是两种流行的格式。 一般txt格式如下: 节目名称,节目URL 一般m3u格式如下: EXTINF:-1,节目名称 节目URL 有些节...
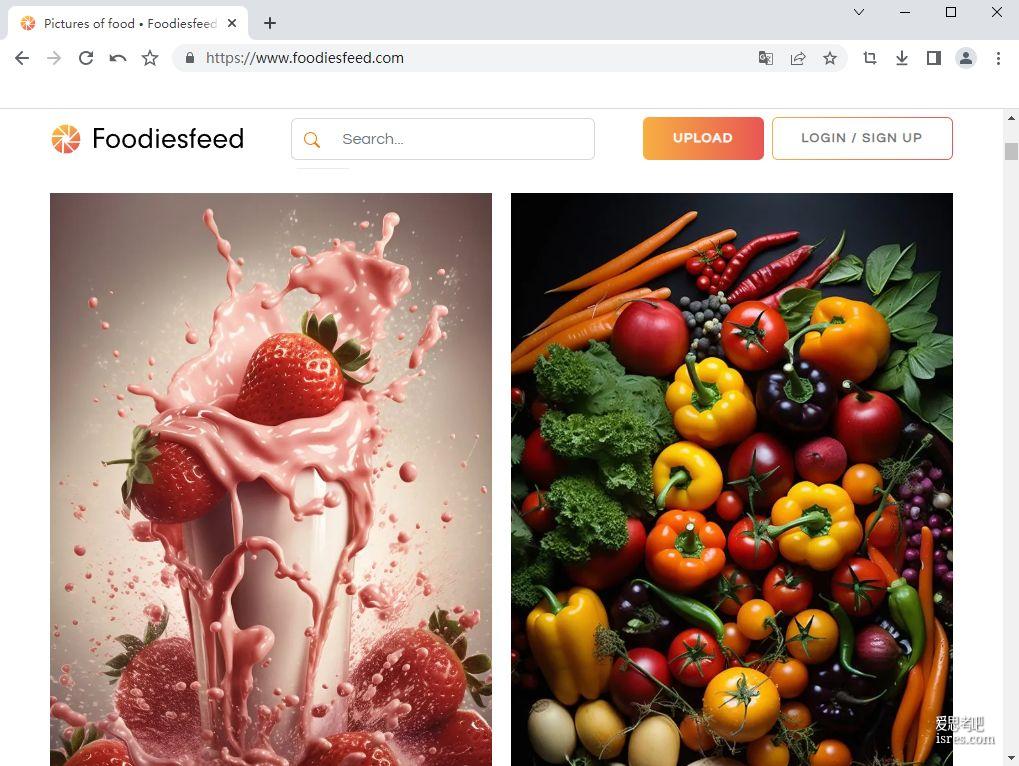
【Foodiesfeed官网】Foodiesfeed.com美食类图片素材库
Foodiesfeed是一个总部位于罗马尼亚的食品类股票照片网站,由Marius Masalar于2014年创立。 Foodiesfeed提供大量高分辨率美食照片供免费下载使用。图片内容丰富,涵盖饮...
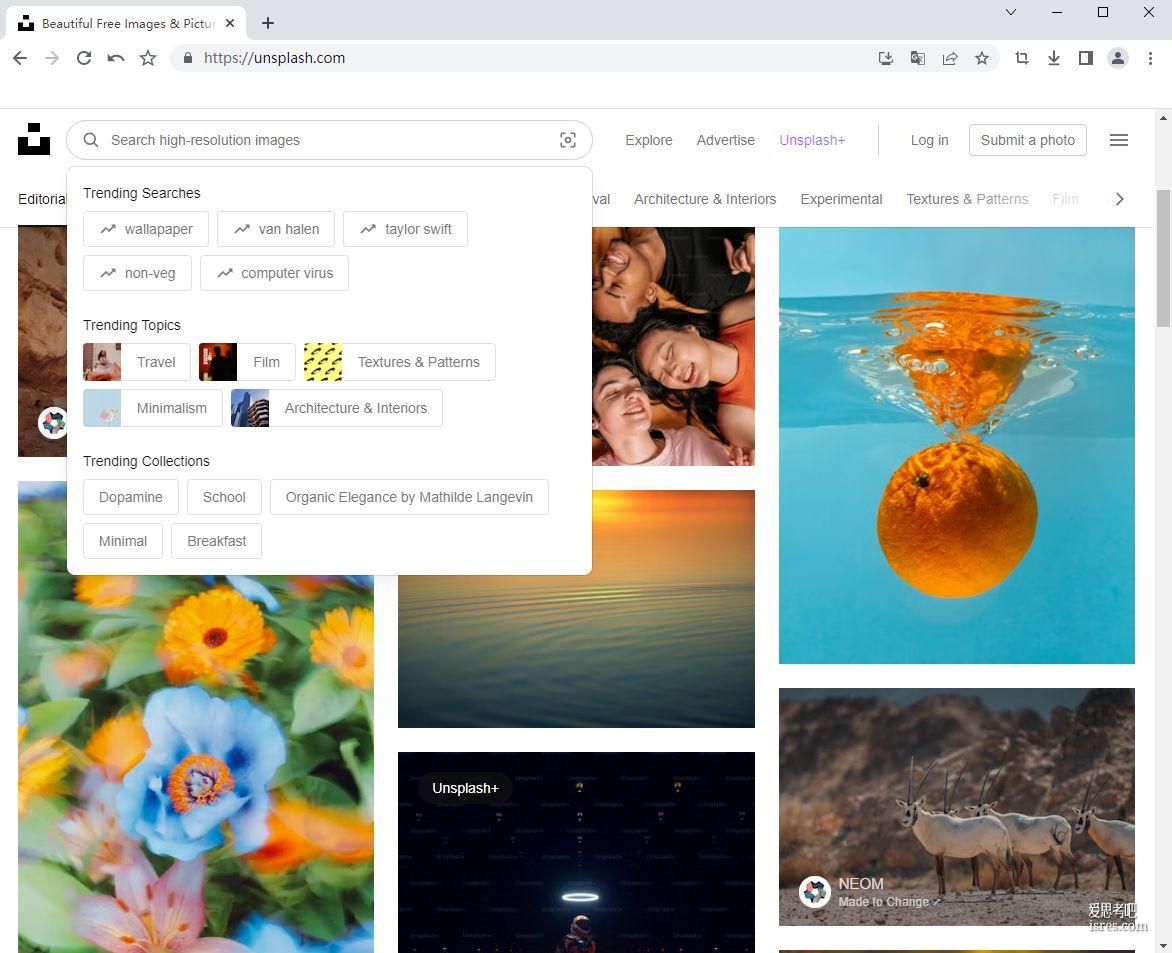
【Unsplash官网】Unsplash.com高质量的免版权图片网站
Unsplash是一个总部位于加拿大蒙特利尔的免版税照片分享网站,于2013年由Mikael Cho、Stephanie Liverani和Luke Chesser创立。 Unsplash提供了数以...

【pexels官网】pexels.com一个高品质照片图库可商用
Pexels是一个总部位于德国柏林的免版税照片和视频分享网站,由Ingo Joseph Piotraschke于2014年创立。 Pexels允许用户免费下载和使用网站上数以百万计的高质量图片和视频...
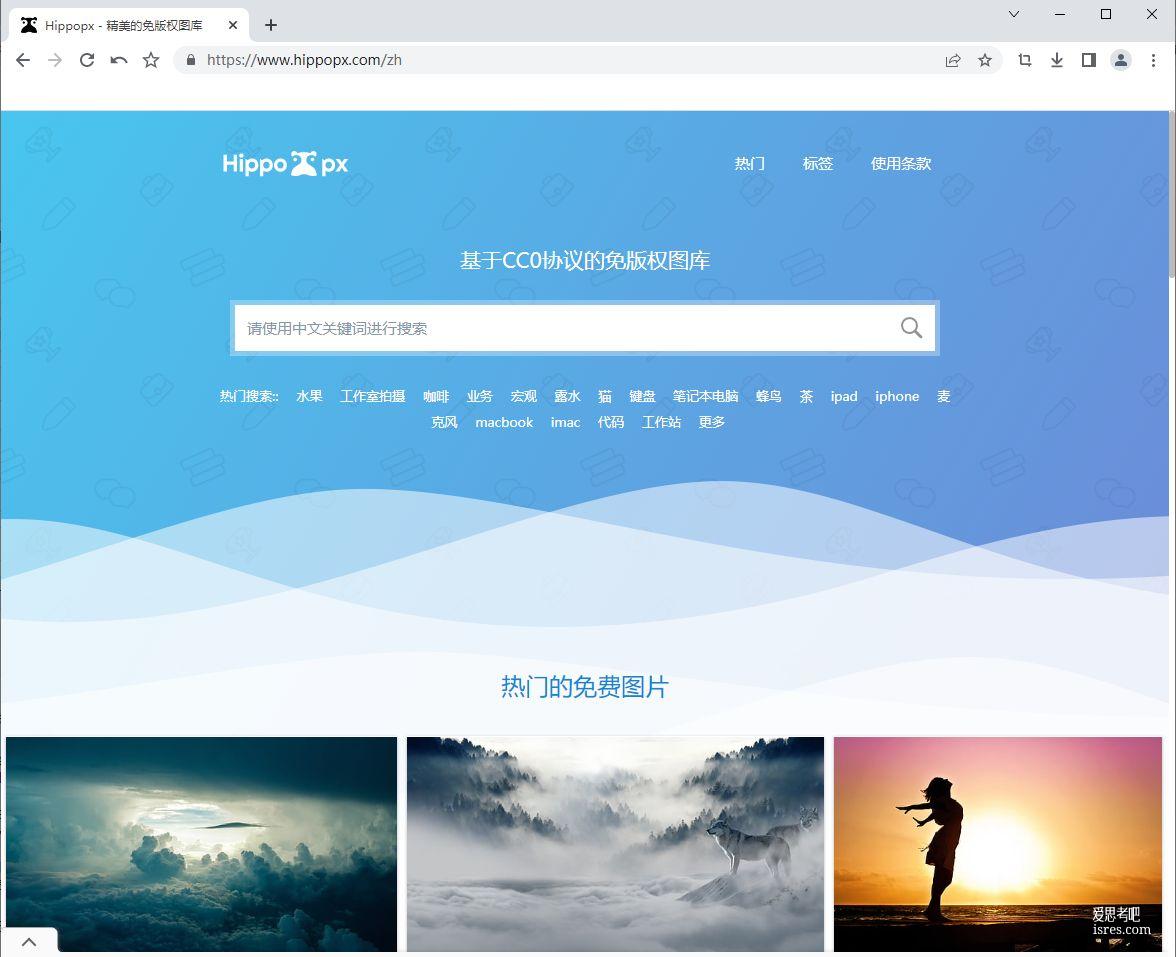
【Hippopx官网】Hippopx.com基于CC0协议的免版权图库
Hippopx是一个总部位于美国的免版税高清图片网站,由DesignBold于2015年创立。 Hippopx提供包含各种主题的免版税商业照片供用户下载使用,图片类别包括人物、风景、动物、食物等。用...

【photock客中文官网】photock.asia可商用免费素材图片网站
Photock是一个总部位于日本的亚洲风格股票照片网站,由Chungkong Chen于2017年在日本创立。 Photock提供大量具有亚洰风情的高清图片供免费下载使用。其图片内容广泛,覆盖日本、...

【pixabay官网】pixabay.com可商用高清图片素材库
Pixabay是一家总部位于德国的股票照片、插图、视频和音乐免版税网站。该网站于2010年由Hans Braxmeier和Simon Steinberger创立。 Pixabay允许用户免费下载网站...
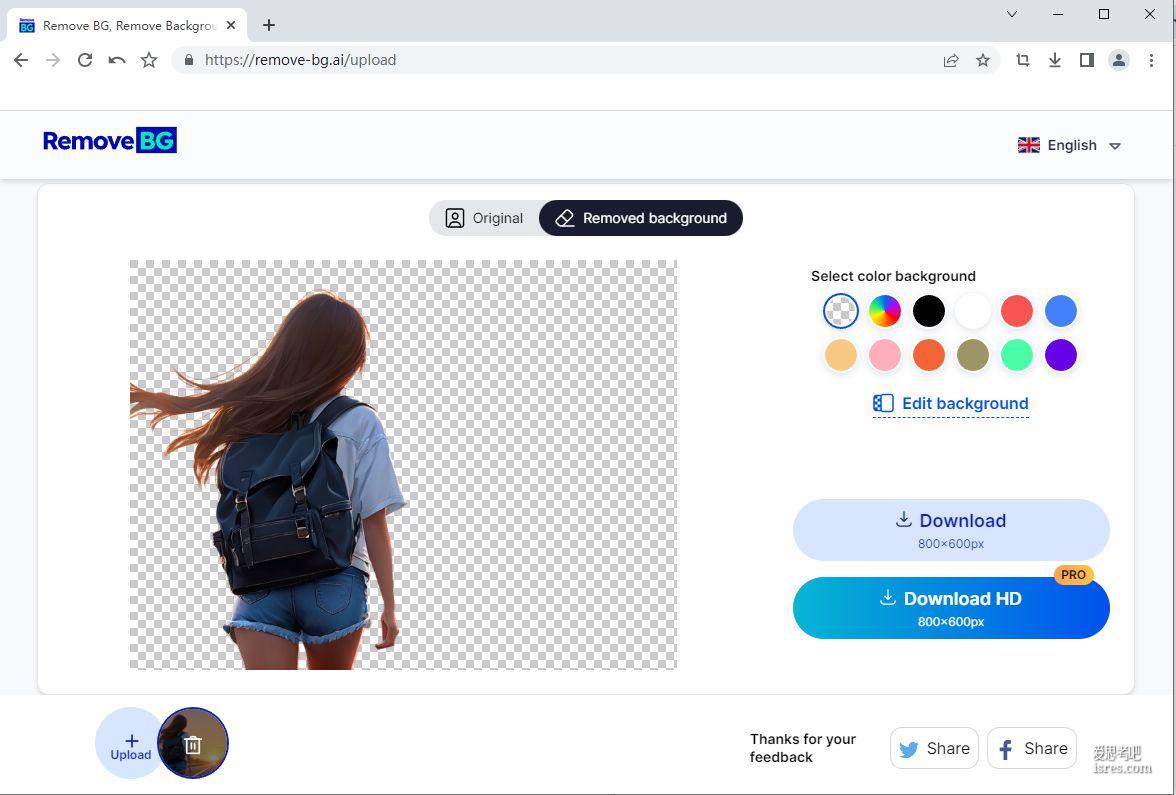
【remove-bg.ai官网】智能扣图去背景网站
remove-bg.ai 是一家成立于2019年的人工智能背景去除初创公司。该公司的主营业务是提供基于人工智能的图像背景去除服务。 用户可以上传包含复杂背景的图片,该网站使用专门训练的深度学习模型自...

【remove.bg官网】名气不小的抠图去背景网站
Remove.bg是一个图像背景去除网站,域名注册于2017年,由编程人员 Denis Tang 于2019年创立于美国加利福尼亚州。该网站利用人工智能技术为用户提供快速、自动地去除图片背景的服务,...
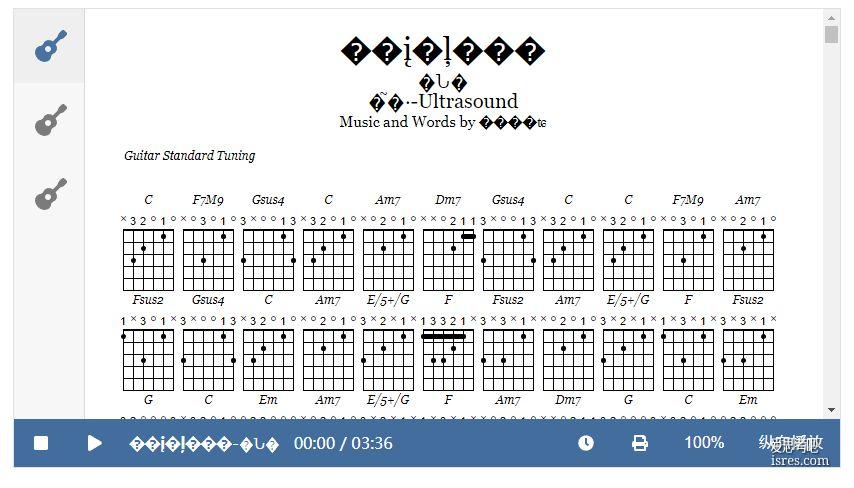
alphaTab.js在播放gp5格式曲谱乱码的解决
alphaTab.js是一个用来实现在网页播放guitar pro曲谱的js框架,能够兼容甩有gp格式的在线播放,但是alphaTab.js在播放一年老曲谱的时候会出现汉字乱码。 这里的原因就是这个...